|
As part of the Maker Movement, Ish and I explore ways to incorporate STEM into Music Education. By doing so we coded a playable paper piano and a child-friendly sampler using an Arduino. These ideas hope to open up new conversations on what Music Education is and allow students to explore new resources within Music Education. Above is Ish explaining the ins and outs of our project. ENJOY!
0 Comments
It is getting closer to presentation night, and we are slowly getting everything together. The code seems like its working, the images are happening, just needed to put it all together. To celebrate International Make Music day on June 21st, SCM is displaying a whole range of projects done in this course. Please come watch our livestream or in person. The link to the event is down below! Hope to see you guys there!!!!! Also remember to check out my Facebook and Instagram page in the Technology in Music Education tab and Contact page. 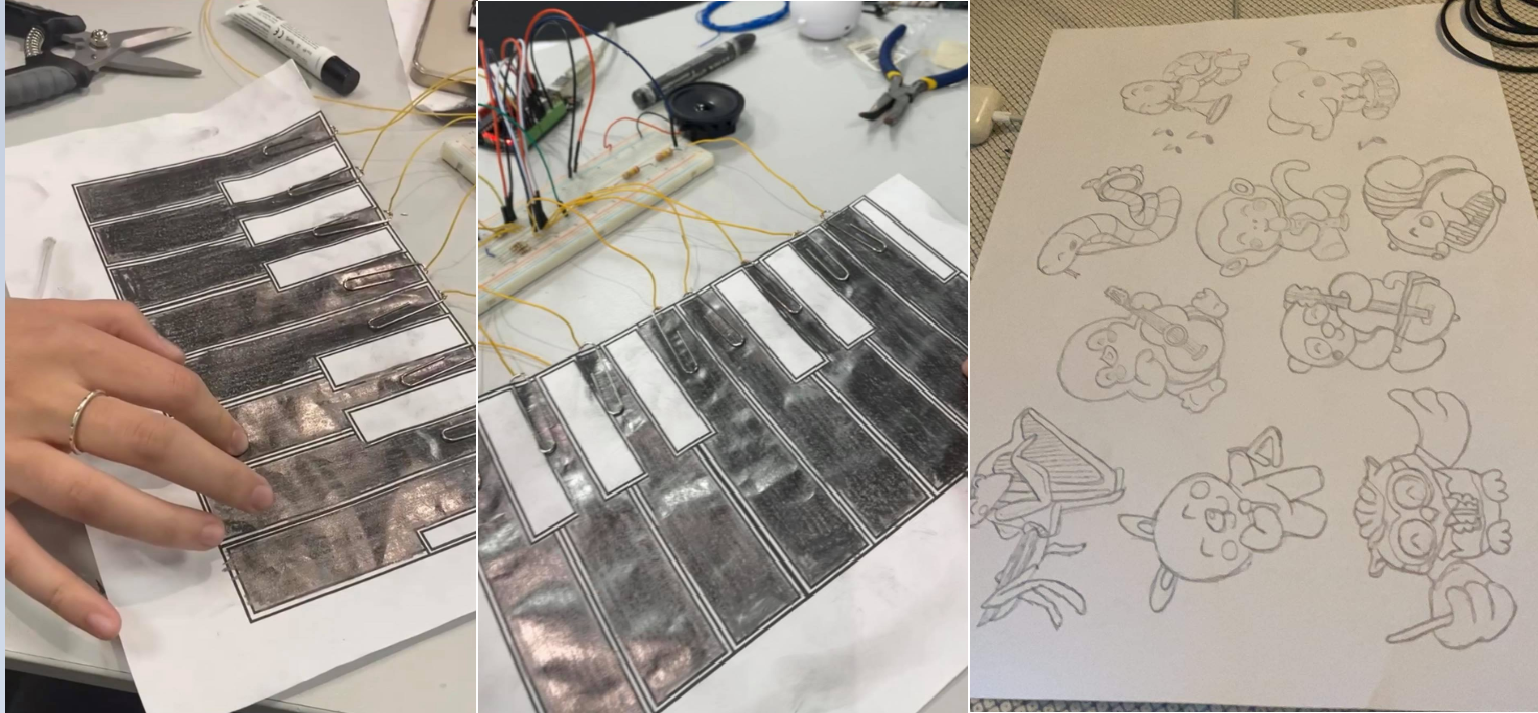 After a lot of wondering how am I going to do this by myself. I found someone who has had a full degree on coding, Lets welcome ISHVINDER SINGH into this dark abyss. Ish took a look at my set up and code and gave me the look of disapproval and explained to me all the flaws with my plan. But it was needed because once we knew what was missing and what needed fixing things started to make a lot more sense. I learnt that jumper wire, which were the ones I was using aren't that reliable and needed to get the proper wires. I also learnt how to cut and strip my own wires. I let Ish deal with the rest of the code, finalizing and cleaning up the mess I have made. The end product was a working paper piano that was more responsive. YES to TEAMWORK! After showing James Humberstone it actually makes sound, we then discussed ways we can extend it. After that conversation, I thought about making a sampler type situation where if you press certain pictures it will play a sound or even a song. So next step was 1. find a way to code songs 2. Draw pictures 3. How am I going to put it all together? After a few days I have come up with a plan and have also started drawing stuff. I wanted to include the keyboard but have a box and have the pictures on top of the box so we can have two demonstrations of the use of Arduinos, 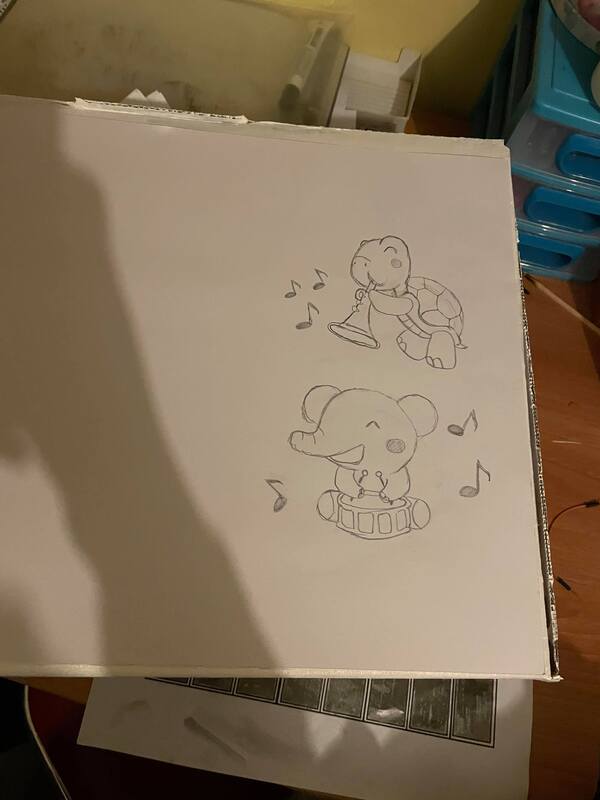 So after getting some new fancy resistors I FINALLY got it to make some noise. But there were still a lot of fine tuning to go. As you can see in the video there is a lot of delays and limitations so far and I want it to be playable. So off to the drawing board again. But enjoy so broken piano playing! After some time to rethink my project and how it is going to work, I decided to get some professional help and got in touch with Rowena Stewart. We had our virtual meeting and tried to figure out what my issue was and why it wasn't making any sound. We figured it might be the resistors I was using were not high enough and needed to get an 1M ohm resistor instead. So off to Jaycar I go. Also we converted my Block code into written code so that way we can fine tune the code to work a lot better 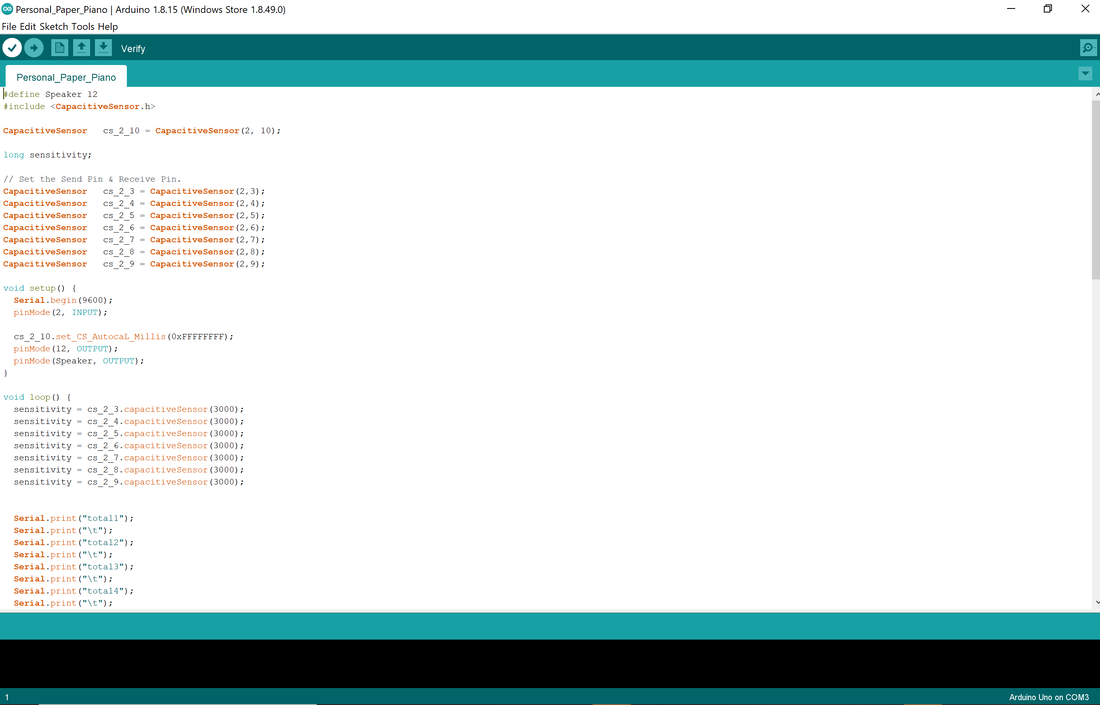 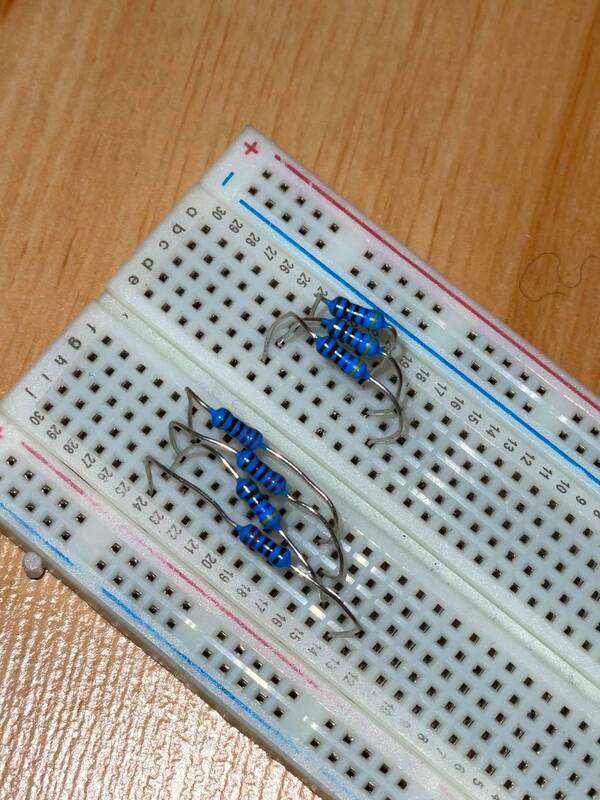 So today I finally put everything together and tried running the code. Note to self: Don't do it on your bed...it is flammable. So I found out the voltage used for my power is WAYYYY too much and caused it to smoke and smell like burning plastic. So I did take a bit of a break to re-think my decisions on this project and why I decided to do this one my bed. 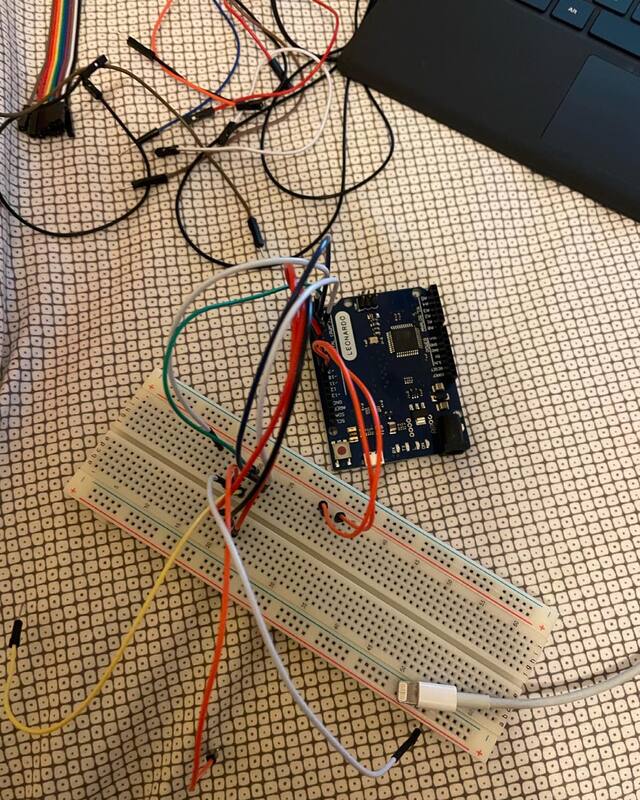 I have at last have the materials needed for my idea. Using my Yr9 knowledge of circuits, I knew I had to create a parallel circuit which will be how the notes will be played.  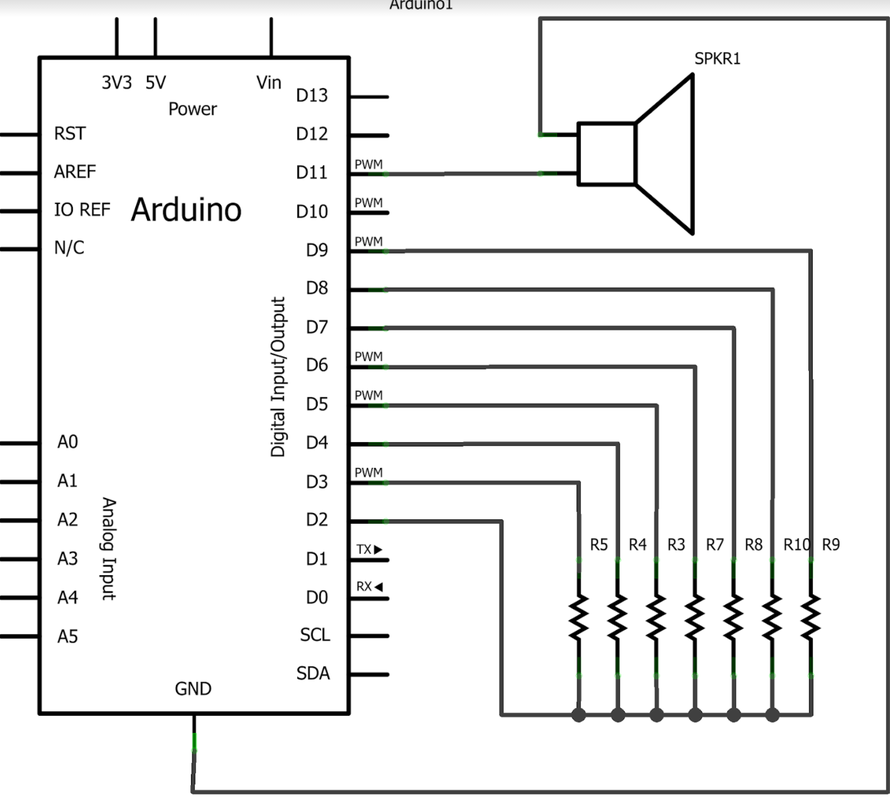 This was the rough schematics I was following. Basically D2 is the initial pin and then the other pins are the receiving pins. Using capacitive sensors on the Arduino, if it sense any change in the flow of current within the parallel circuits then it will hypothetically play a sound.
So today I deiced to have an attempt at block coding my idea. Honestly it was literally all guessing and hoping once I run it and put it together it somewhat made sense. I used Blockly@rduino to code my idea. I chose to use block coding because it was a lot easier to see and understand, also it mitigates the need to learn c++ or python language. 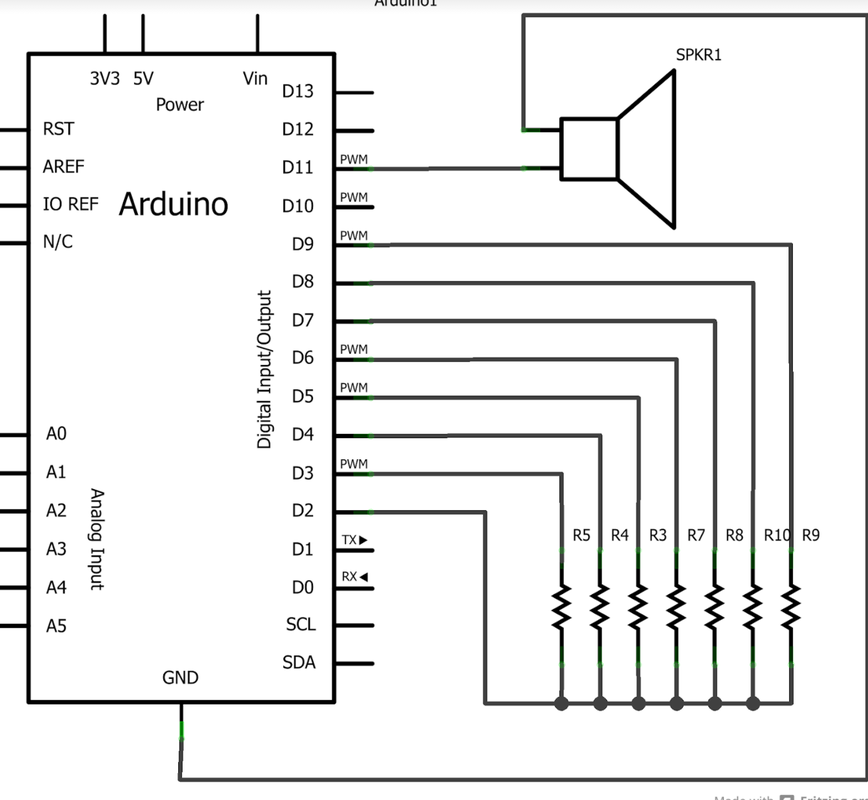 As you can see it is very colourful and pretty but I still don't know if it will run. So It is time to get all the materials and see if these efforts have paid off!
So here begins my journey through of coding. Why did I have to choose such difficult project...idk...brain But nevertheless we begin on this journey. I started of with Mr. Google and typed "Why is coding scary"...hehehe kidding but I searched up "arduino" and "music" to see what I could use as inspiration. Honestly everything looked hard. Like I didn't understand what anything said. So I said scrap that, and decided to do what I know. After the presentation by Rowena and Renee, I remembered I roughly know how to Block code properly and I did have a scaffold on how to code notes. So put two and two together you get an Arduino paper piano. This idea is probably gonna be the death of me but we will see how it goes!  |
AuthorWrite something about yourself. No need to be fancy, just an overview. ArchivesCategories |
 RSS Feed
